How To Elope in Mt. Rainier National Park | 2025
How to Elope in Mt. Rainier National Park
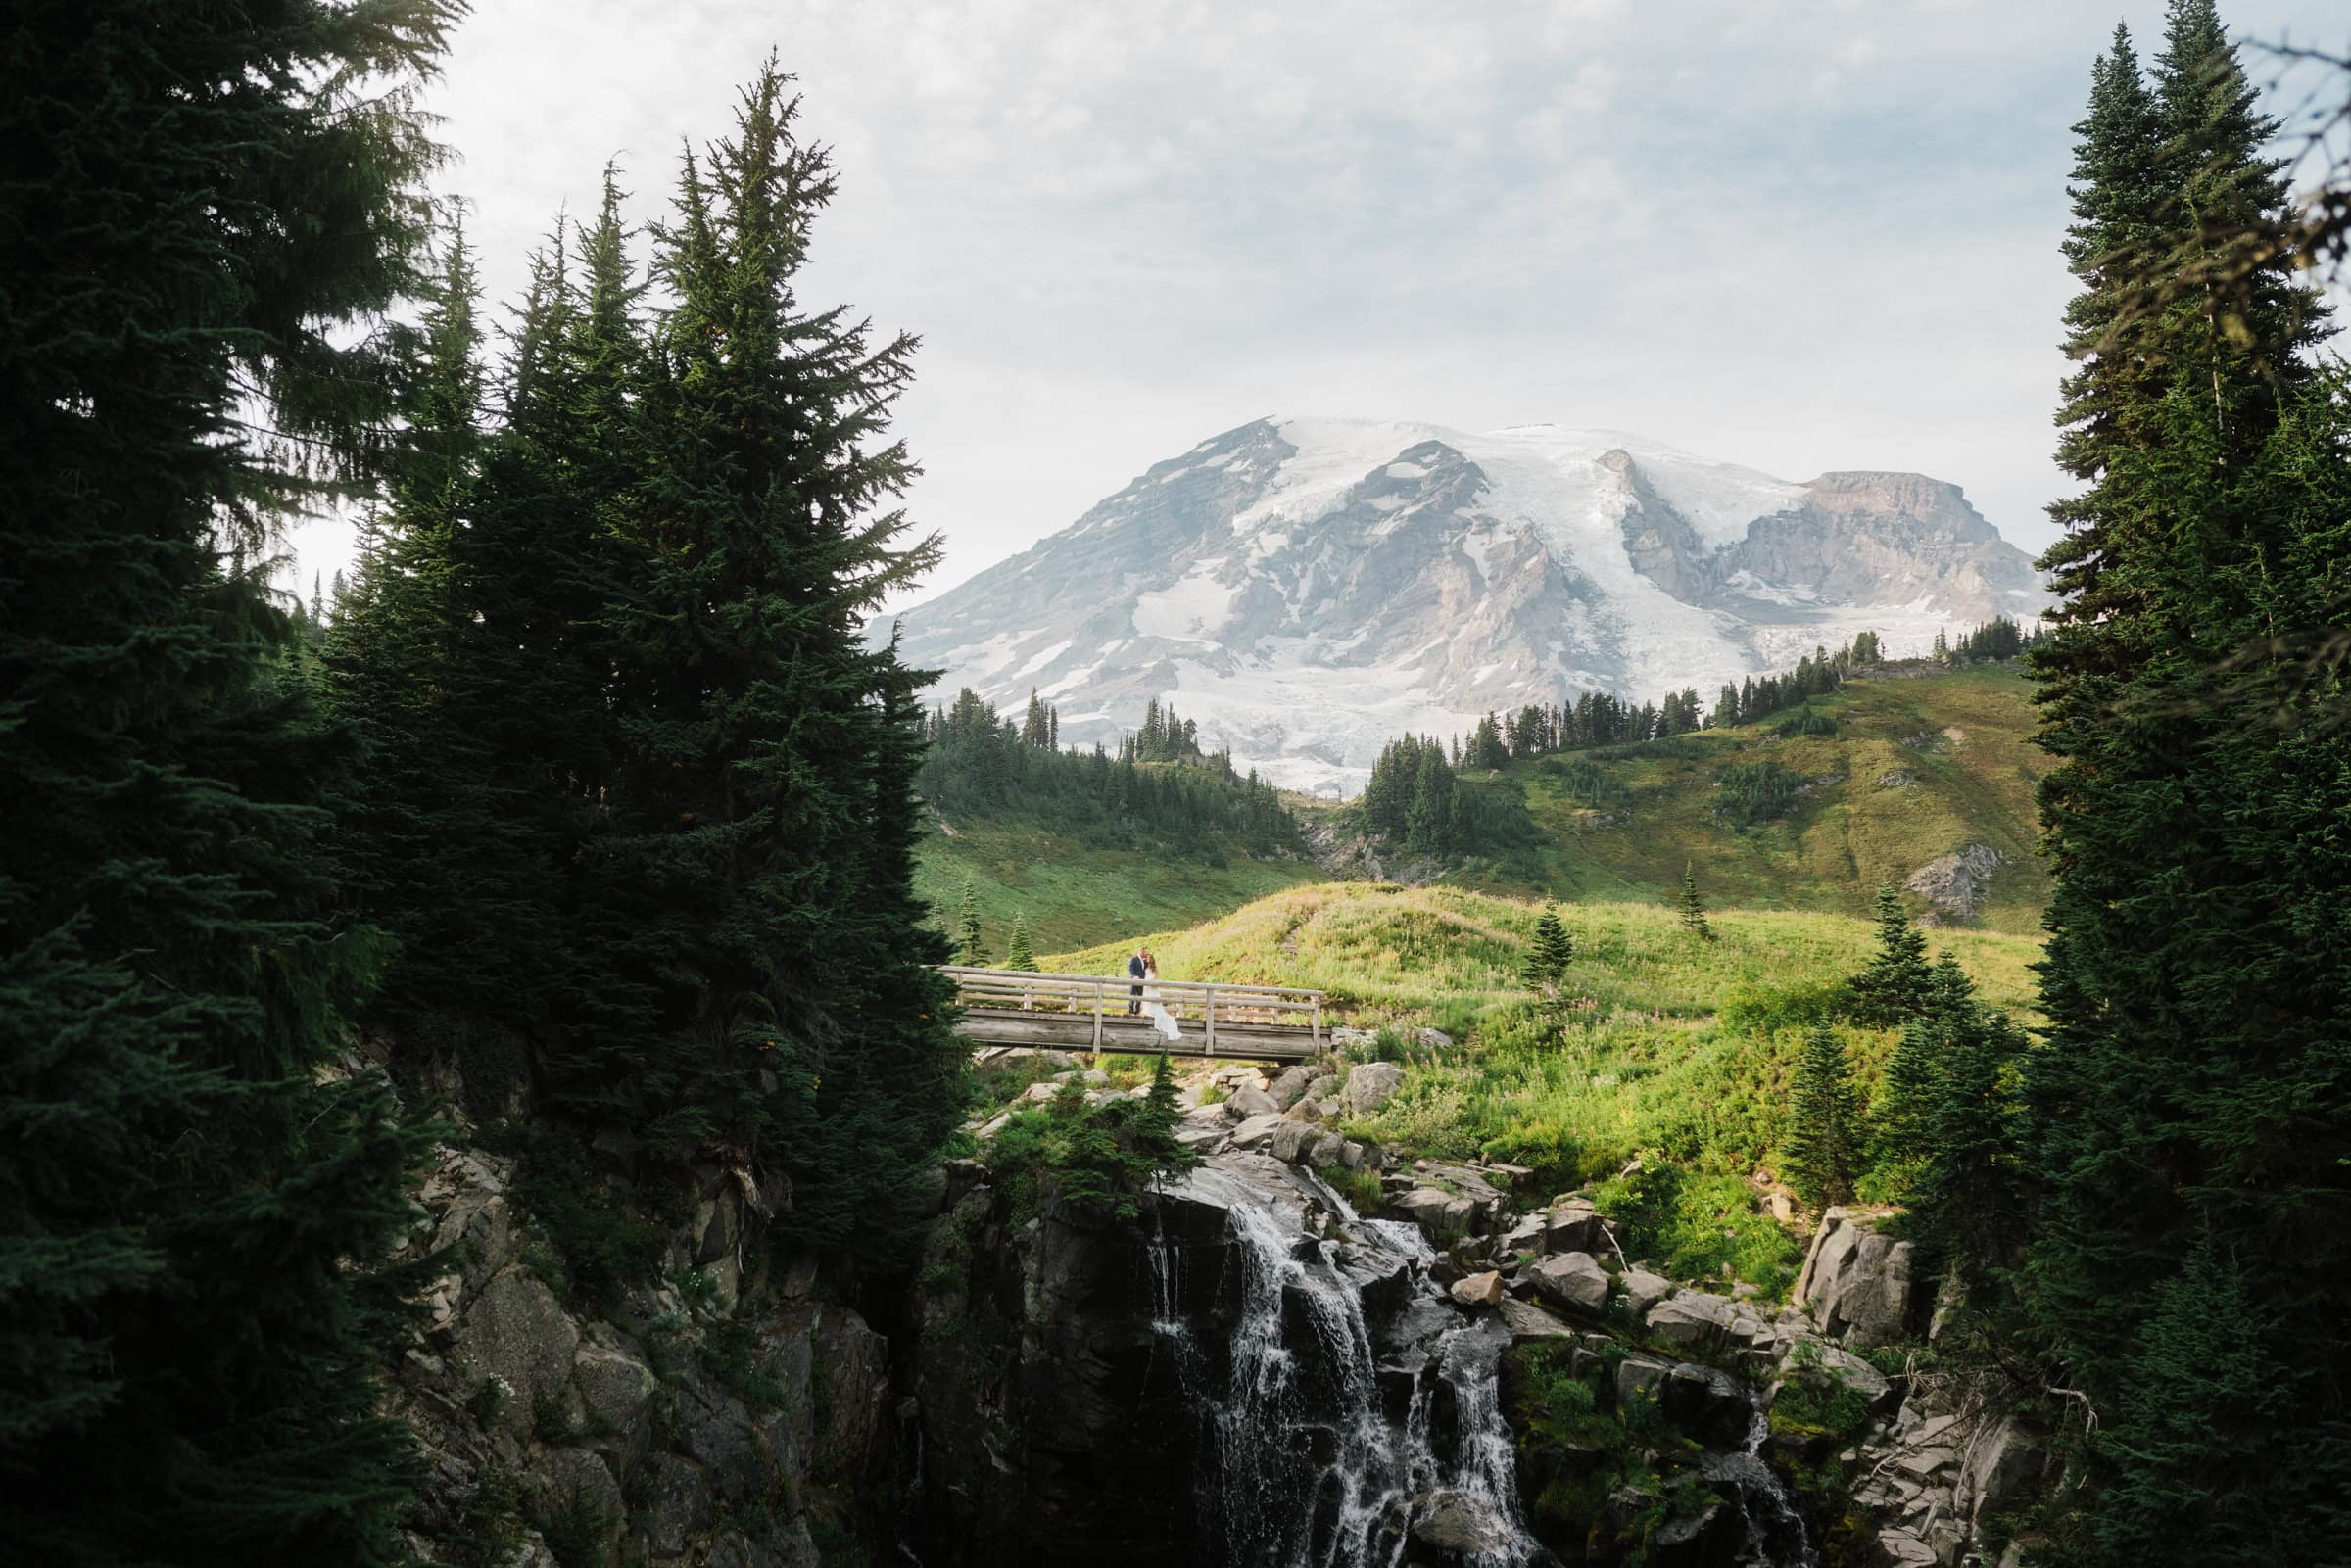
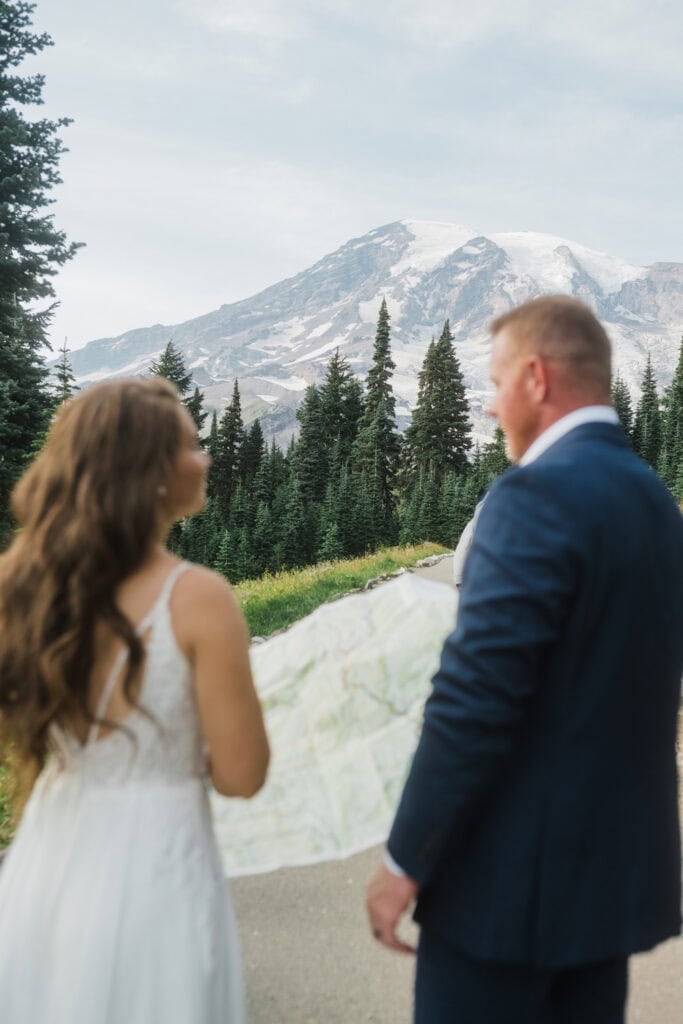
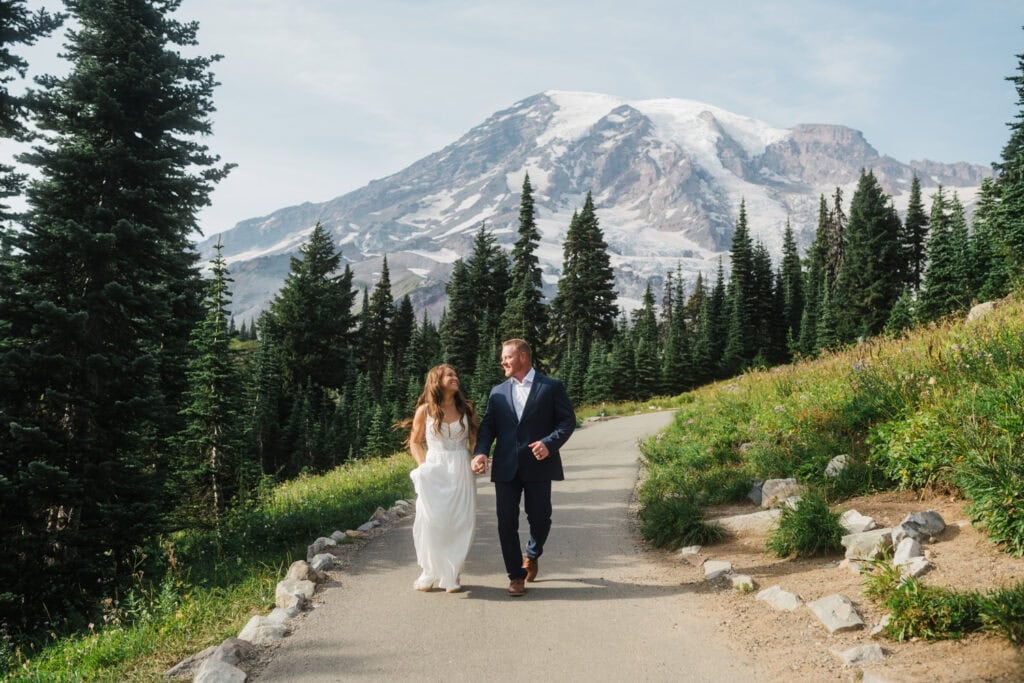
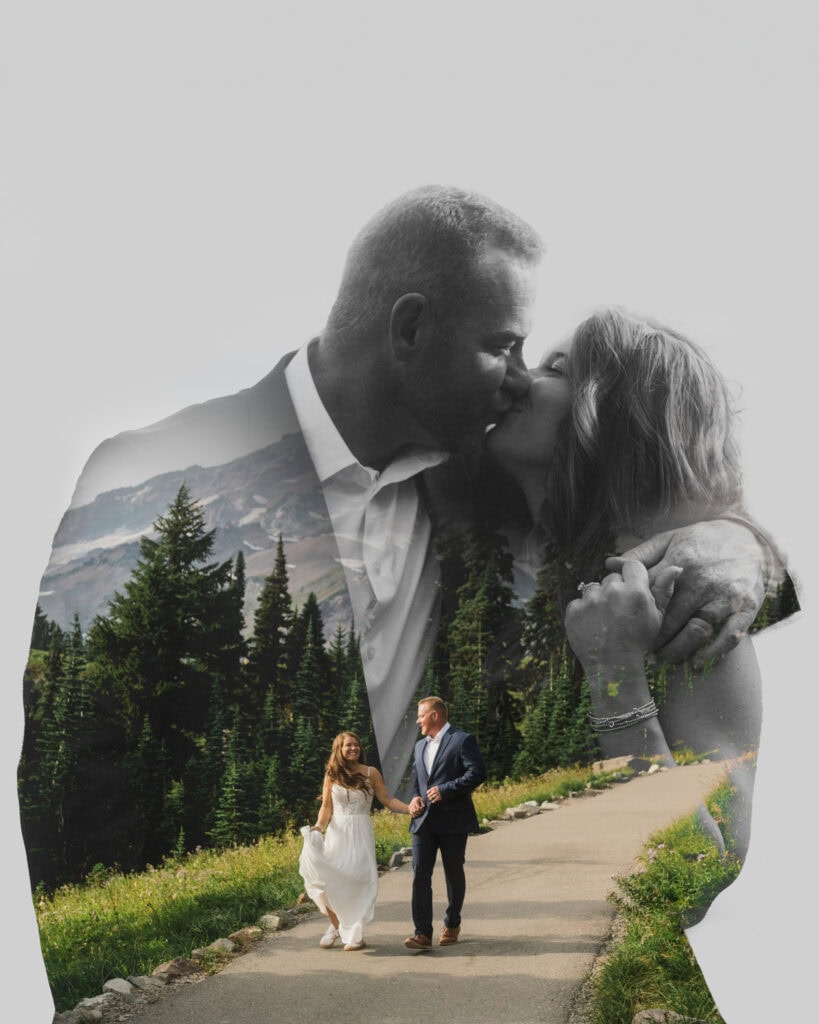
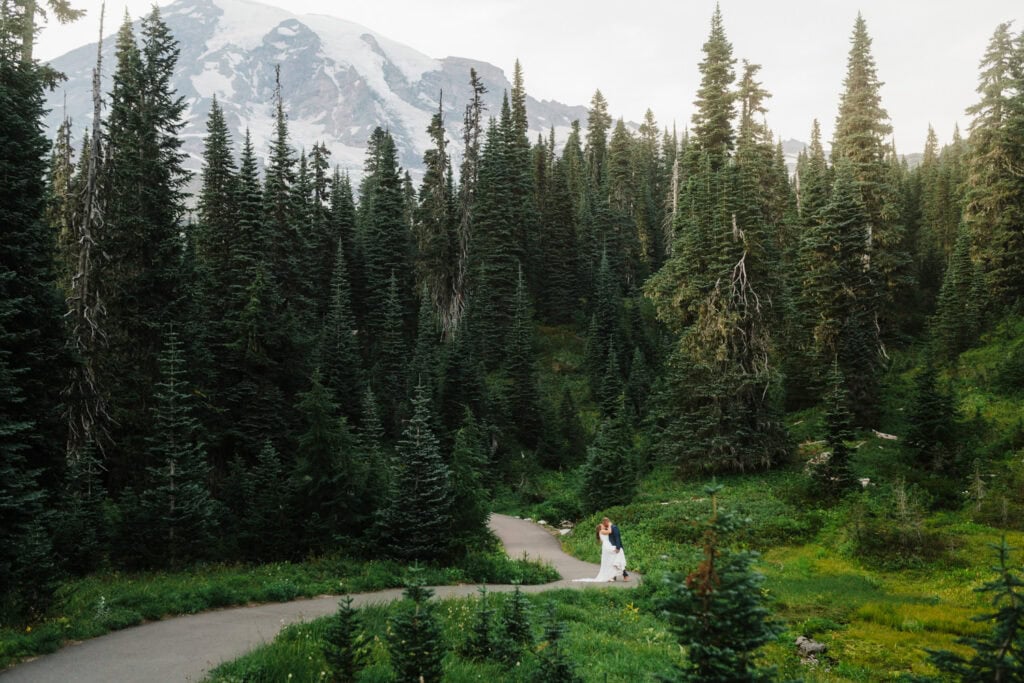
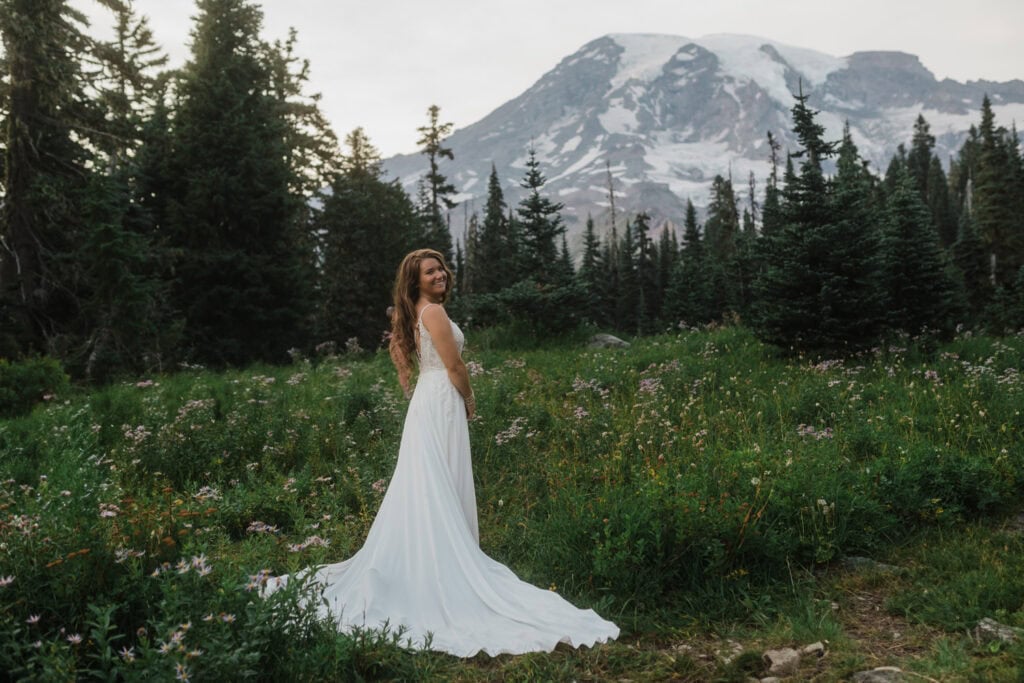
Planning an elopement in Mount Rainier National Park offers a perfect blend of adventure, romance, and breathtaking scenery. This guide covers everything you need to know how to elope in Mt. Rainier, from choosing the best locations and seasons to obtaining permits and creating an unforgettable experience. Whether you’re dreaming of wildflower-filled meadows in the summer or a cozy, snowy winter backdrop, Mount Rainier provides the perfect canvas for your intimate wedding day.
Are you dreaming of an intimate and breathtaking wedding experience? Mt. Rainier National Park might be the perfect place for your elopement! With its towering peaks, lush forests, and stunning vistas, this Pacific Northwest gem offers a truly magical backdrop for your special day. As an adventure elopement photographer who has captured countless beautiful moments, I’m here to guide you through how to elope in Mt. Rainier National Park.
Why You Should Elope in Mt. Rainier
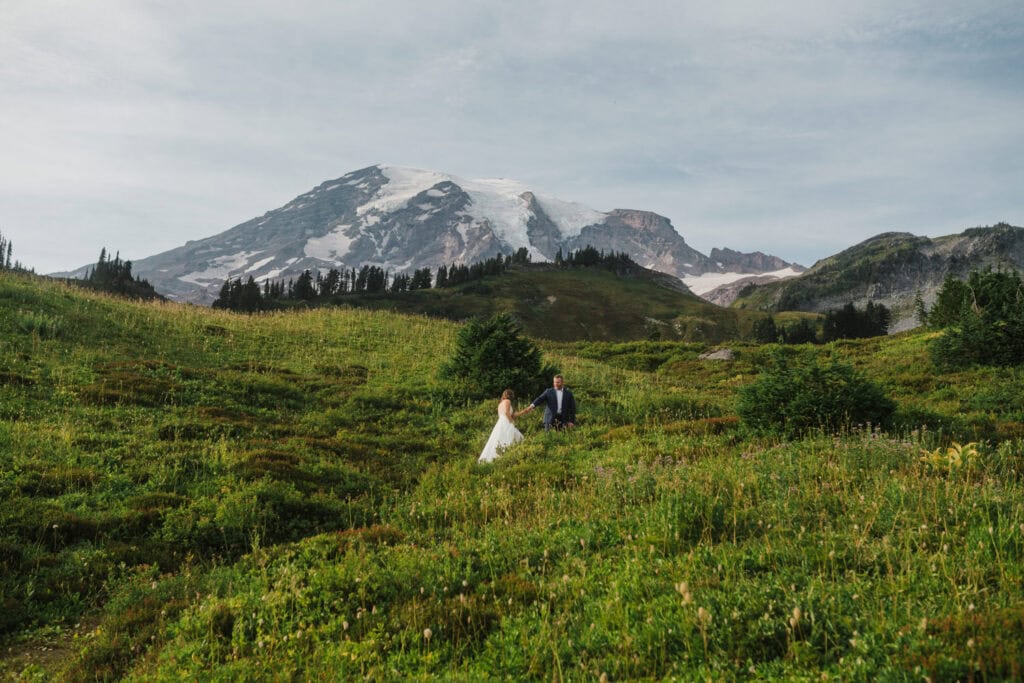
- Majestic Backdrop Like No Other: There’s just nothing quite like a giant mountain peak as your ceremony backdrop. Mt. Rainier offers some of the most stunning and accessible mountain views in Washington – perfect for both couples who want more adventure and those who want easy views.
- Intimate Moments in Nature: I know a crowded wedding venue isn’t your thing – that’s why you want to elope out in nature with epic views! Say your vows surrounded by ancient trees, alpine lakes, waterfalls, and meadows. There’s plenty of room to spread out and have a private moment all to yourself, especially if you’re willing to hike.
- Adventure Awaits Around Every Corner: For couples who crave adventure, Mount Rainier National Park is a playground waiting to be explored. Hike through lush trails, explore hidden alpine lakes, or capture your love against the backdrop of wildflower meadows. Your elopement becomes not just a celebration but an day full of creating new memories as you explore the park with your partner.
- Beautiful All Year: Eloping in Mount Rainier National Park means you get to choose your favorite season since the park is open all year. Picture vibrant wildflower blooms in summer, a golden-hued wonderland in fall, or a snow-kissed landscape in winter. Whatever the season, Mount Rainier provides a stunning backdrop that changes with the rhythm of nature.
- Gorgeous Sunsets: As the day winds down, Mount Rainier offers a breathtaking spectacle—the sunset. Picture the sky ablaze with warm hues, casting a romantic glow over your elopement. Imagine gorgeous sunset photos of the two of you with the mountain as the sun goes down and the stars come out!
How To Elope In Mt. Rainier National Park – Best Time of Year
While Mt. Rainier National Park is open year-round, climate and conditions vary greatly throughout the year. You can see everything from a snowy wonderland to wildflower fields—it all depends on when you choose to elope!
- Summer (Late June to Early September): This is the most popular time for elopements due to milder weather and open access to higher elevation areas. Wildflowers are in full bloom during this period, making for stunning photo opportunities.
- Fall (Late September to Early October): The park’s foliage transforms into brilliant shades of red and gold, creating a picturesque backdrop for your elopement.
- Winter (Late November to March): If you’re looking for a snowy wonderland, consider a winter elopement. Keep in mind that some areas of the park may be inaccessible due to snow, and be prepared for cold temperatures.
- Spring (Late April to Early June): Spring brings lush greenery and cascading waterfalls, but also melting snow and potentially muddy trails. Be sure to check trail conditions if you plan to elope in the spring.
Where To Elope in Mt. Rainier National Park
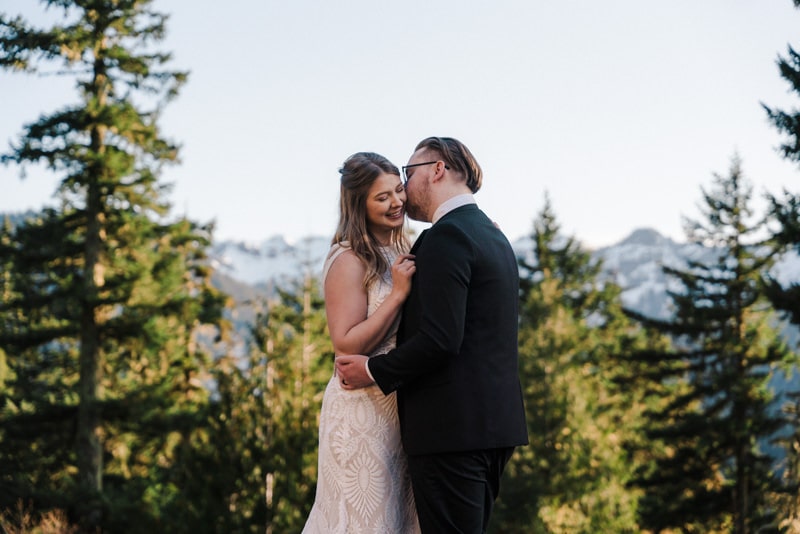
Mt. Rainier NP is HUUUUUGE. If you’re not familiar with the park it can quickly get confusing trying to figure out where to elope in the park. Here are some of the locations I recommend to my couples and *BONUS* some of these spots are easily accessible so you can get the views without hiking for hours and hours.
- Paradise: Let’s kick things off at Paradise, aptly named for its heavenly beauty. With sweeping mountain views, wildflower meadows, and the iconic Jackson Visitor Center, Paradise is… well, paradise! To secure your spot, don’t forget to obtain a Special Use Permit. Pro tip: Early morning or late afternoon ceremonies here offer dreamy lighting for your photos and fewer crowds.
- Tipsoo Lake: For a serene lakeside celebration with the mountain as your backdrop, Tipsoo Lake is the go-to spot. Whether you choose to exchange vows on the shore or the nearby hills, this location promises a tranquil and visually striking setting. Apply for your ceremony permit well in advance to secure your date.
- Nisqually Vista: Looking for a spot with sweeping panoramic views? Nisqually Vista is your answer. Perched high above, you’ll have the mountain, forests, and valleys at your disposal for breathtaking photos.
- Reflection Lakes: This spot is perfect for an intimate ceremony surrounded by gorgeous alpine lakes. Don’t forget to check the permit guidelines for ceremonies by the lakeside and secure your date for a picture-perfect celebration.
- Grove of the Patriarchs: Did you know that there are redwood trees near Mt. Rainier?? This gorgeous forest is accessed by a suspension bridge that leads you into a magical grove. **This location is not currently available but will hopefully be open in 2025!**
- Sunrise: True to its name, Sunrise is the perfect sunrise ceremony spot. With vast meadows and a panorama of the mountains, this location promises a sunrise ceremony that’s visually stunning. Best for weekday ceremonies so you don’t get too many bystanders.
- Fremont Lookout: Perfect for couples wanting to hike, the lookout offers panoramic perfection for your wedding day. Perched atop a ridge, this spot provides breathtaking views of Mount Rainier and the surrounding landscape.
How to Elope in Mt. Rainier National Park & Get The Correct Permits
This is boring but oh, so important. Mt. Rainier National Park is a protected wilderness area, and permits are necessary to ensure the conservation of this pristine environment and to manage visitor numbers. Here’s what you need to know:
1. Fill out an application and email it to mora_special_use@nps.gov. Applications must be submitted at least 4 weeks before your desired date. If you need to expedite your permit you can email the permit coordinator to request your permit be expedited.
2. Once your application is received you will be sent instructions on paying the $250 application fee. The fee must be paid for the permit to be approved.
3. Keep in mind that elopements in the park are limited to a small number of guests, typically 12 or fewer. If you plan to have more guests, consider alternative locations outside the park boundary.
4. You will need to specify your elopement location within the park when applying for your permit. Some popular locations include Paradise, Sunrise, and Tipsoo Lake.
Ceremonies in the park may not:
- Impede the activities of other park visitors.
- Areas may not be roped off or blocked in any way to the general public.
- Modest decorations may be allowed (additional permissions required).
- Additional permissions may be required for professional photography/videography; please include photographer contact information in the application form.
- The setting up of chairs, tents, or awnings is not permitted.
- Throwing of rice, confetti, etc. is not allowed.
**Don’t forget!!** Depending on the time of year you visit and if you’re having additional guests joining you, you may need a timed entry reservation to get into the park. You can find more information about that here.
As always also remember to practice Leave No Trace so that we leave a little impact as possible to the environment. This might mean limiting your guests, decor, and other details of your elopement. Also remember to never stand in the fragile meadows!
Activities for Your Mt. Rainier Elopement
There are so many things to do inside the park! Here are just a few:
- Hiking (of course!)
- Waterfall hunting
- Have a picnic
- Stargazing (the park offers stargazing tours during the summer!)
- Kayaking
- Camping
- Horseback riding
- Take a gondola up to Crystal mountain
Best Areas to Stay Near Mt. Rainier For Your Elopement
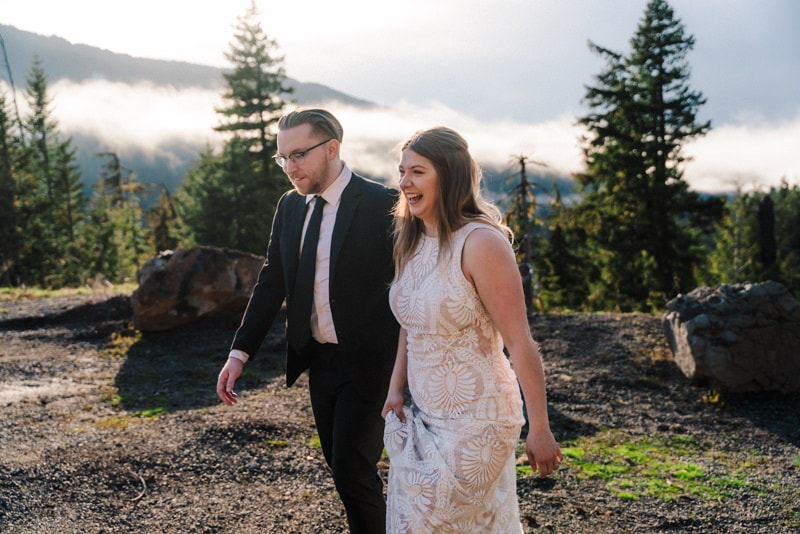
While there are no accommodations directly within Mt. Rainier National Park, there are charming towns and lodges nearby where you can stay:
1. Ashford: This small community just outside the park’s Nisqually Entrance offers a variety of lodging options, including cabins, bed and breakfasts, and campgrounds. This is also the closest entrance to Paradise.
2. Packwood: Located on the southeast side of the park, Packwood is another excellent option for lodging, with cabins and vacation rentals. Closest to Tipsoo and Reflection Lake. Check out my favorite Airbnb here!
3. Enumclaw: If you prefer to be closer to the park’s west entrance, Enumclaw has several hotels and motels to choose from. Close to Sunrise visitor center.
Remember to book your accommodations well in advance, especially during the peak summer season.
My Top 5 Airbnb’s For Your Mt. Rainier Elopement
All of these cabins are gorgeous (gotta keep those getting ready photos in mind) and are also near the park. I’ve also included a beautiful dog friendly cabin as well as a cabin on it’s own private land for the ultimate getaway.
- Packwood A-Frame Cabin – Nestled in the heart of nature, the Packwood A-Frame Cabin offers couples a cozy retreat surrounded by the beauty of the Pacific Northwest. With its charming A-frame architecture, this cabin provides an intimate and secluded atmosphere for couples looking to exchange vows in a serene environment. The rustic yet modern interior adds to the romantic ambiance, making it an ideal setting for an elopement weekend. Plus, the riverfront views and hot tub make for the perfect post-elopement relaxation spot!
- Private Ashford Treehouse – For couples dreaming of a fairytale-like elopement, this treehouse in Ashford is the perfect choice. Elevated among Douglas fir trees, this enchanting retreat provides a magical backdrop for an intimate celebration. The cozy interior and panoramic views create an atmosphere of seclusion and romance, allowing couples to focus on each other amidst nature’s beauty.
- Ashford A-Frame – Bobo’s Bungalow – Bobo’s Bungalow, an A-frame cabin in Ashford, offers a balance of simplicity and charm. The intimate space allows couples to immerse themselves in the tranquility of the surrounding wilderness while enjoying the comforts of a well-appointed cabin. This Airbnb is a dream to photograph!
- Modern Cabin Near Mt. Rainier – This new cabin near Mt. Rainier delivers a perfect blend of sophistication and natural beauty. With its sleek design and expansive windows, this cabin allows couples to bring the outdoors in, creating a seamless connection with the surrounding landscape. The nearby Mt. Rainier provides a majestic backdrop for exchanging vows and creating lasting memories. Plus, the cabin comes with all you need to go snow shoeing for winter elopements!
- Scandinavian (dog friendly!) Cabin – Of course, I had to include a dog friendly spot! The Scandinavian Cabin not only welcomes pets but also provides an idyllic setting for a celebration. With its Nordic-inspired design and dog-friendly amenities, this Airbnb offers couples the chance to include their four-legged family members without having to leave them back home.
How to Elope in Mt. Rainier – Getting There
1. When traveling from out of state:
- If you’re flying in from out of state, your destination will most likely be Seattle-Tacoma International Airport (SEA). Seattle is well-connected to major cities across the United States and internationally.
- Upon landing at SEA, rent a car or arrange for transportation to take you to Mt. Rainier National Park. Many rental car agencies are available at the airport.
- From Seattle, follow Interstate 5 South to exit 127 (WA-512 East) towards Puyallup.
- Continue on WA-512 East until it merges with State Route 7 South.
- Follow State Route 7 South until it intersects with State Route 706, which leads directly to the Nisqually Entrance of Mt. Rainier National Park.
1. From Seattle (Northwest):
- Start your journey in Seattle, a major gateway to Mt. Rainier.
- Take Interstate 5 South to exit 127 (WA-512 East) towards Puyallup.
- Continue on WA-512 East until it merges with State Route 7 South.
- Follow State Route 7 South until it intersects with State Route 706, which leads directly to the Nisqually Entrance of Mt. Rainier National Park.
2. From Tacoma (Southwest):
- Begin your trip in Tacoma, which is another convenient starting point.
- Take Interstate 5 South to exit 127 (WA-512 East) towards Puyallup, just as you would from Seattle.
- Follow the same directions mentioned above, continuing on State Route 7 South to State Route 706 to reach the park’s Nisqually Entrance.
3. From Eastern Washington:
- If you’re coming from the eastern side of the state, you can access the park via State Route 410 or State Route 12, depending on your location.
- Both routes offer picturesque drives through forests and valleys, eventually leading you to the northeast and southeast entrances of Mt. Rainier National Park.
Sample Sunset Elopement Timeline at Mt. Rainier
Here’s a sample 6-hour timeline for a sunset elopement (sunset at 7:48 PM):
- 2-3 PM: Enter through the Nisqually entrance (Ashford) or Stevens Canyon entrance (near Packwood). Meet at Reflection Lakes.
- Get your park entry reservation here—it’s $2 per vehicle.
- 3-5 PM: Capture special moments like flower girl photos, praying, or family photos. Consider a flower toss alternative for a unique touch.
- 5:30-7 PM: Head to Paradise for stunning photo opportunities. Stop at Myrtle Falls and take time to explore the area.
- Optional: Celebrate with a dessert picnic or sparkling water pop at the Paradise picnic area.
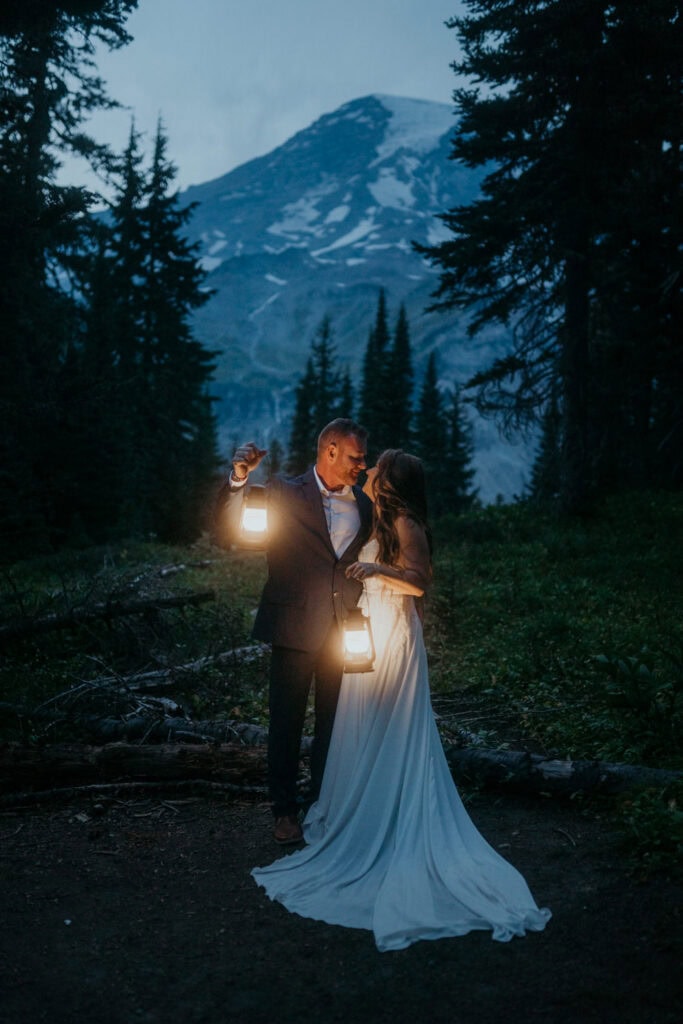
- 7-9 PM: End the evening at the Nisqually Vista Trailhead. Create magical blue hour moments with lanterns.
Mt. Rainier Elopement Packages
Planning your Mount Rainier elopement should be as stress-free as possible, and that’s where my tailored elopement packages come in. Here’s what you can expect when you book with me:
- What’s Included:
- Comprehensive timeline planning to ensure your day flows smoothly.
- Assistance with securing permits and selecting the perfect locations.
- A minimum of 4 hours of photography coverage to capture every meaningful moment.
- High-resolution images delivered in an online gallery for easy sharing and downloading.
- Travel within Mount Rainier National Park is included, so there are no hidden fees.
Add-ons such as additional hours, a second photographer, or adventure sessions can be customized for your elopement. Your wedding day should feel like a true adventure, and Mt. Rainier is the perfect place to make that happen. I’m here to help every step of the way—from planning to capturing every amazing moment.
Let’s make your dream Mount Rainier elopement a reality. Reach out to me and let’s start planning!
More Resources
Airbnb Cabin Elopement in Packwood, WA
Cabin Wedding in Gifford Pinchot National Forest
January 18, 2025
SHARE:
Planning an elopement can feel overwhelming, but I'm here to make it stress-free and unforgettable. Download my free checklist to help you get started in planning your elopement.
MAKE PACKING EASIER
washington
oregon
iceland
florida
Learn More
When I'm not behind the camera, I love spending time with my dog hiking the beautiful Florida trails, out on my paddle board in our local springs, or spending quality time with my husband exploring local events. When it's been too long since my last beach day, I have cravings for that perfect mix of saltwater and ocean air.
browse blog by location
hey, i'm jessica!
